
Stores
Contact us
You only need one connection
to enjoy all your favorite services
Rather easy, would you say?


Cannot ship to ()


This product is currently unavailable for your region
Please select a size...


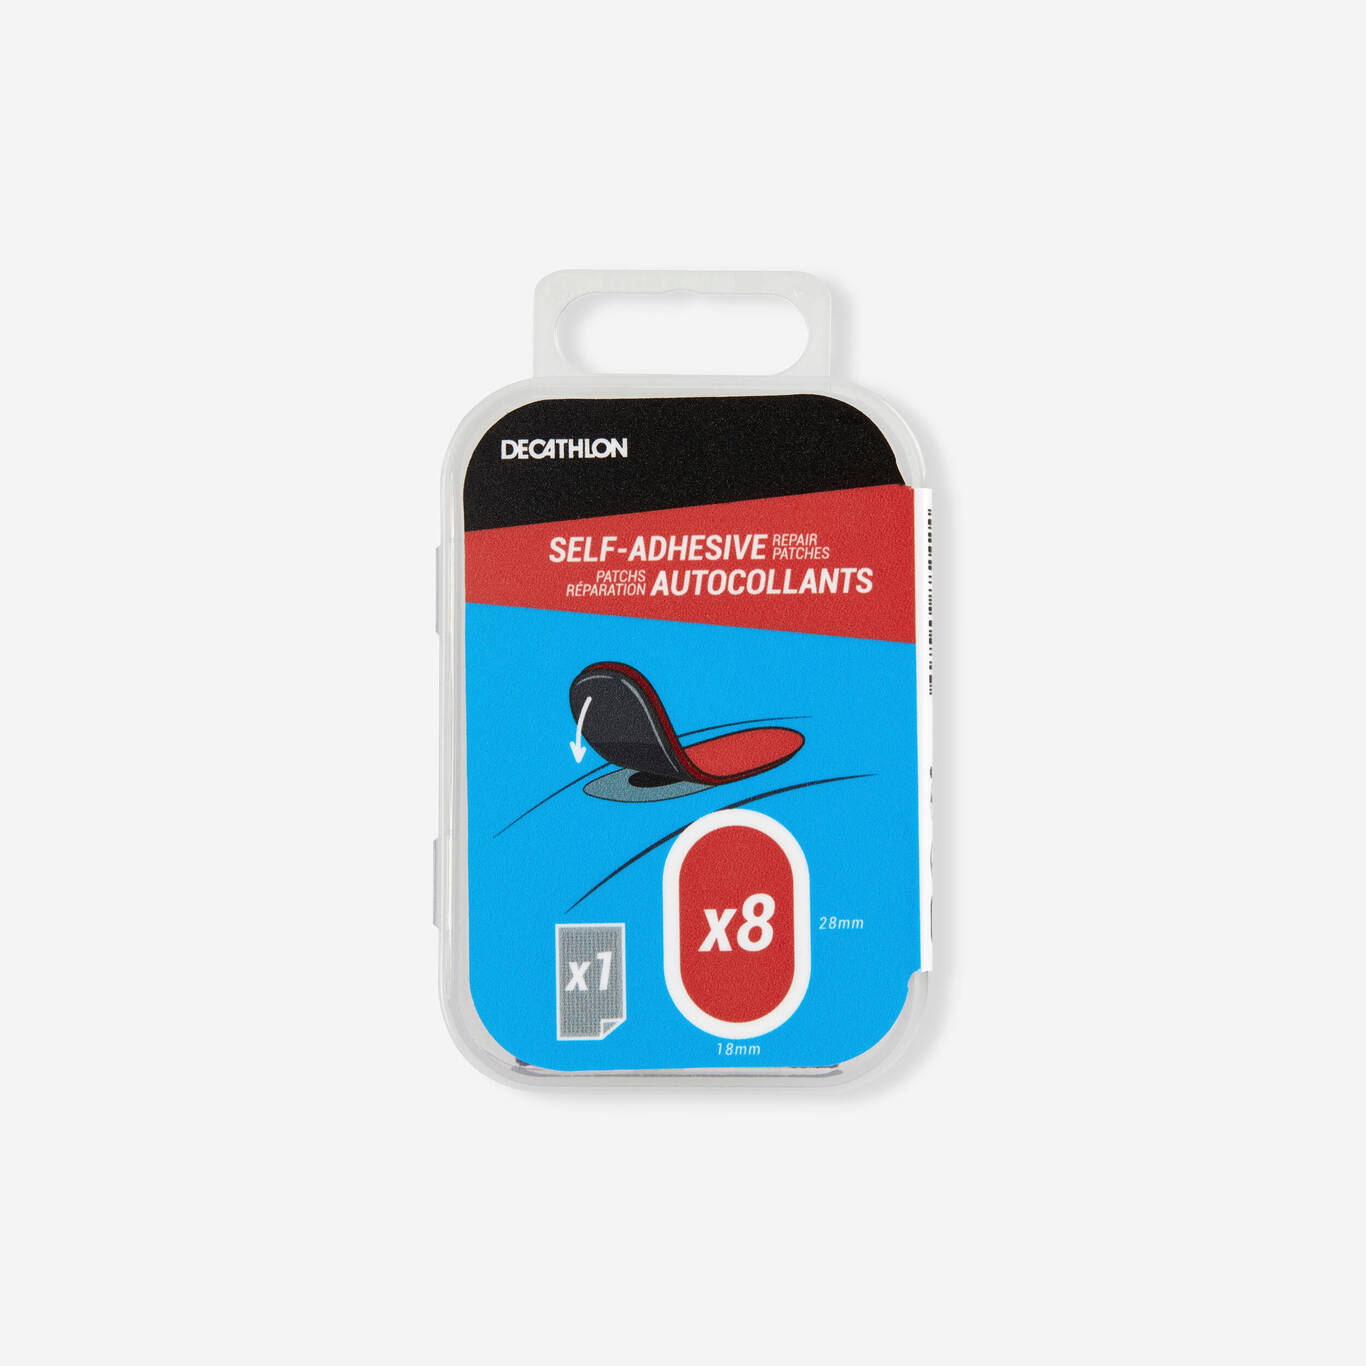
très agréablement surpris par ces patchs. j'en avais essayer d'autres il y a 4 ou 5 ans qui étaient plus épais et qui étaient difficiles à utiliser. ceux là sont vraiment nickel, souples, collent facilement sur la chambre à air. je suis conquis .
Da testare , sembrano validi
Şimdiye kadar yapıştırması bu kadar kolay olan ilk patlak seti. Normalde hemen yeni bir hortum alırım ama bununla küçük hasarları kendim tamir edebildim.
van estupendamente
van perfectos
Molto facili da utilizzare.
Tried patch my tyre twice and both times the leak happened after awhile. Bought a local brand from bicycle shop at $5 for 40 pieces and immediately resolved the leak. Quite disappointed with three patch.
Petit kit pratique à mettre sous la sacoche sous la selle.
Alternativa para não utilizar a cola dos remendos. Compacto e fácil de usar.
He comprado estos parches y la verdad es que son más pequeños y útiles para las cámaras de carretera, un producto que me ha convencido bastante

